CMS Menus
To do this, follow these steps:
1. Login to the admin area.
2. Select Content > Menus from the top navigation bar.
In the list of menus, select the Menu that you want to edit.
Note that Main Menu (Top) menu is the top navigation menu (this may have been renamed to ‘navigation bar’), and Customer Service and Our Company are located.
Note that it is not recommended to add a new menu as this menu needs to be added to the website layout by the team at Web Ninja. Also note that your list of menus may not match the screenshot below.
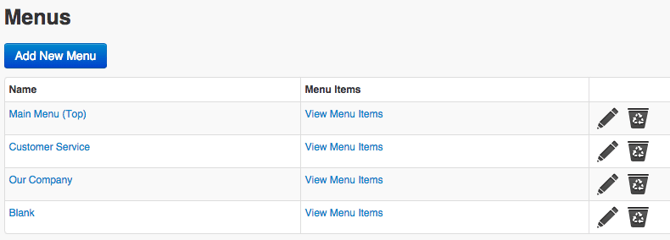
Click on ‘View Menu Items’ to the right of the menu that you'd like to edit.
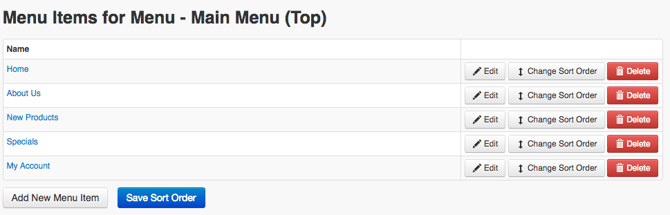
The next window will display the menu items in this menu. Here you can add a new menu item, delete a menu item or change the sort order of the menu items.
To add a new menu item, click on the ‘Add New Menu Item’ button in the top right.
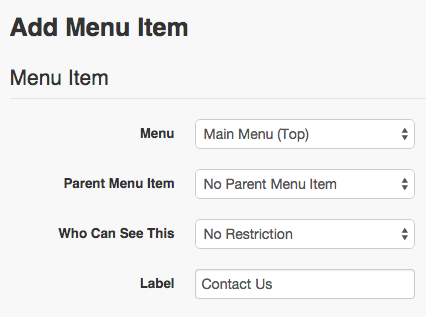
Menu - leave the current setting (you've already clicked on the menu you want to change in the previous screen)
Parent Menu item - If you want to create a drop down menu item or sub menu of a current existing menu item, make a selection from this list. The options will include the menus that are currently on the site. (If you don't want it to be a drop down, leave this option as it is)
Who Can See This - Just like on our pages, we can hide certain menus from logged in/logged out customers or a certain customer type. If you don't want any restrictions i.e everyone can see the new menu item, leave it as it is.
Label - this is the field to enter the name of the new menu item.
7. The ‘Link Options’ section is where we decide where the user will be taken when they click on the link i.e. this is where you set the call to action for your new menu item.

8. From the Link Type drop down select either Software Controlled Pages or Website Pages. In our case we want to send the link to the contact us page, which is a software page.
You can also set a link to any page on the site or a page on an external site using the ‘Custom Link’ option.
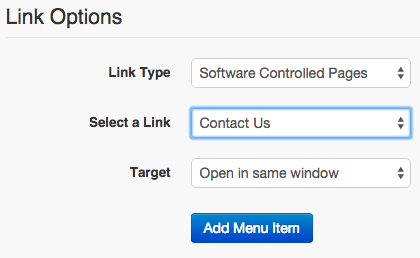
9. If you select ‘Website Pages’ or ‘Software Controlled Pages’ options, a new menu appears allowing you to select the page you want to link to. I've selected Contact Us under Software Controlled pages in my example above.
10. The ‘Target’ option allows you to open the linked page in the same window (most links use this). The other option is ‘Open in new window’ which will open up the link in a brand new window. This is handy for PDF's and documents and also if you're linking to an external site.
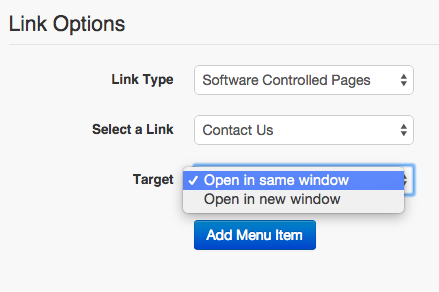
11. Once you've selected the options, click the Add Menu Item button to save your link
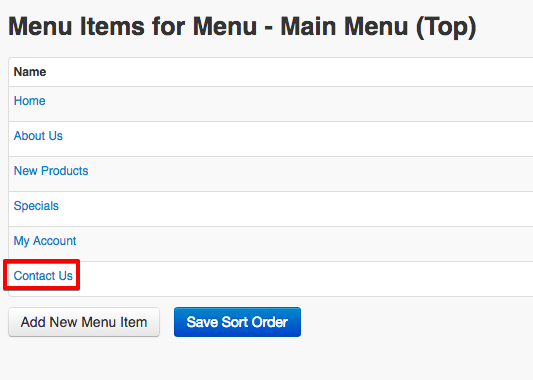
12. The new menu item has now been added to the other links in the list. From here you can rearrange the order if required by clicking by dragging the menu items into a different sort order and then clicking ‘Save Sort Order’.