This guide will take you through the basics of the standard blog module.
The blog module administration settings are found in left sidebar of the admin area.
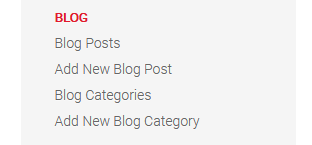
Blog Posts
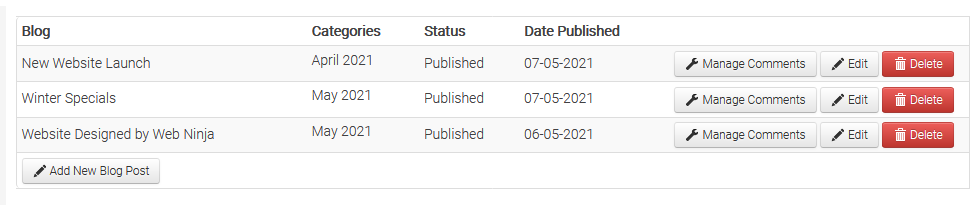
This section allows you to add new blog posts, manage comments, edit a blog post and delete a blog post.
Add New Blog Post
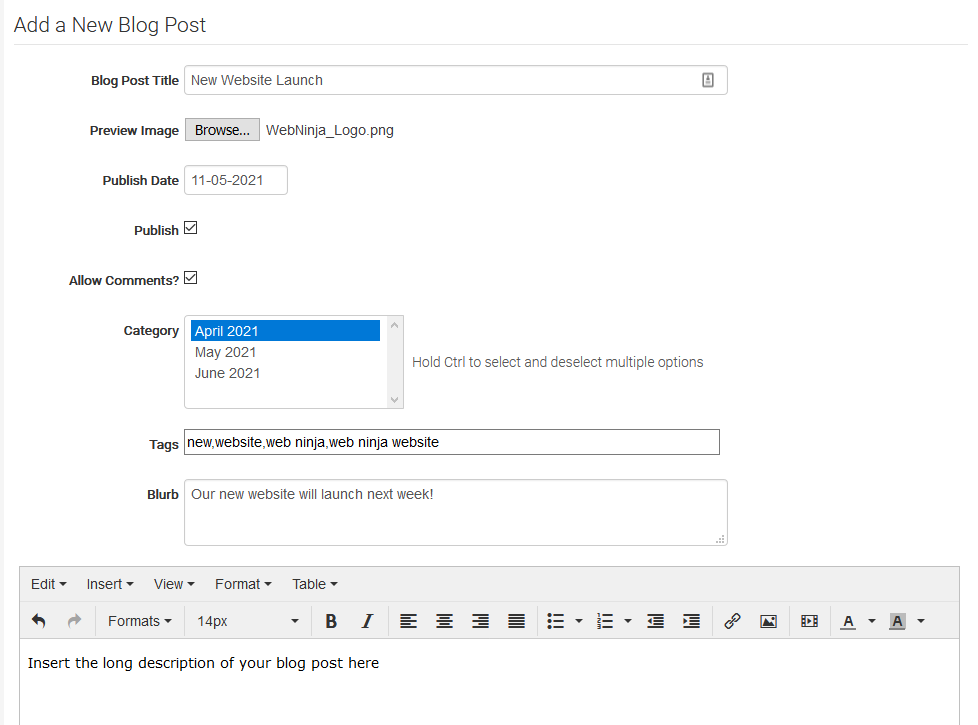
To create a new blog post, click on 'Add New Blog Post' and populate each field.
Blog Post Title: This is the title that shows in the blog list
Preview Image: You can load an image which will show on the blog list and individual blog post
Publish Date: This is the publish date shown on the blog post
Publish: Sets the blog post live. If this is un-ticked, the post is in draft mode
Allow Comments?: Allows customers to comment on the blog post
Category: Posts the blog to one or more categories. It's recommended that you create the categories first
Tags: Allows you to tag the post
Blurb: Displays on the blog list as a short blurb about the post
Long Description: This field is for a more detailed description that will only show on the individual blog post
Blog Categories
This section displays all the blog categories that have been created. You can also edit and delete categories on this page.

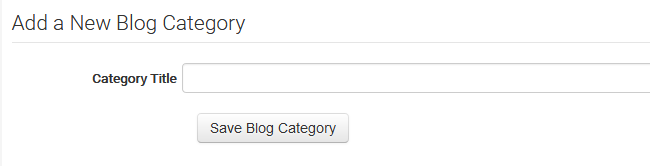
Add New Blog Category
To create a new blog category, click on 'Add New Blog Category' and insert the new category into the Category Title field.
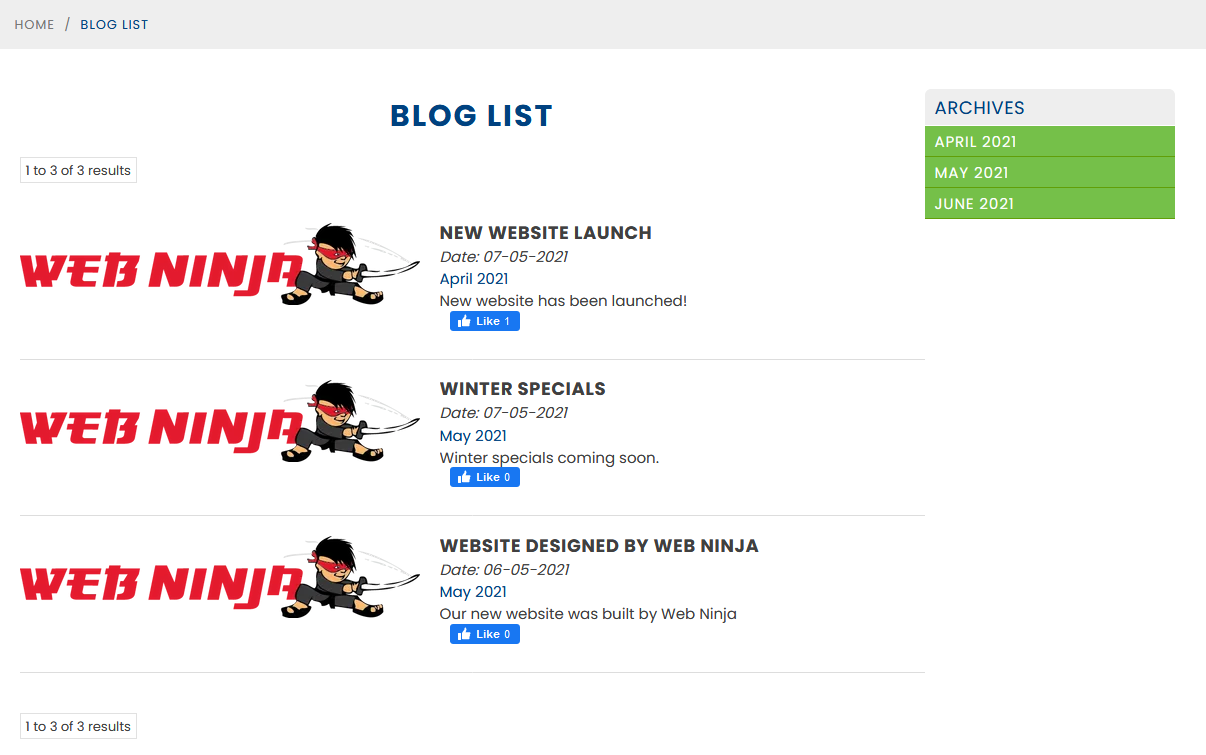
The Finished Blog
To navigate to the blog list, just add this to the end of your domain name: /blog/list
For example, the link on the Web Ninja site would be www.webninja.com.au/blog/list
This takes you to your list of blog posts showing the images, blog titles, publish dates, categories and blurbs.
Articles in this section
- Reconnect Amazon to Webninja
- Web Ninja Customer Import - For Accounts Already Created
- Web Ninja Modules/ Add Ons
- Web Ninja Blog Module
- Integrate Share This with the site
- Share This Property ID
- How do Quotes work?
- Google Maps API for Stockists Search
- Web Ninja Price Manager
- Promotions Module - Guide